Easy Crochet Bag Ideas for Everyday Use
Five beginner-friendly bag styles, from a drawstring pouch to a mesh market tote, plus construction tips so your bag holds its shape.
- Published
- Reading time
- 7 min read
- Skill level:
- Advanced beginner
In this article (7 sections)
A crochet bag is one of the most satisfying projects to finish, because you'll use it constantly. The styles below suit confident beginners. Most use only single and double crochet, and they're built from simple shapes you may already know.
1. Drawstring pouch
A small pouch for earbuds, makeup, or crochet notions. It's worked in a spiral from a flat circle and is the best first bag. A full starter outline is at the end of this article.
2. Mesh market tote
A mesh tote is made from rows or rounds of (dc, ch 1, skip 1). It uses little yarn, folds up small, and stretches to hold groceries. Work the base in solid single crochet for strength, then switch to mesh for the sides.
3. Granny square tote
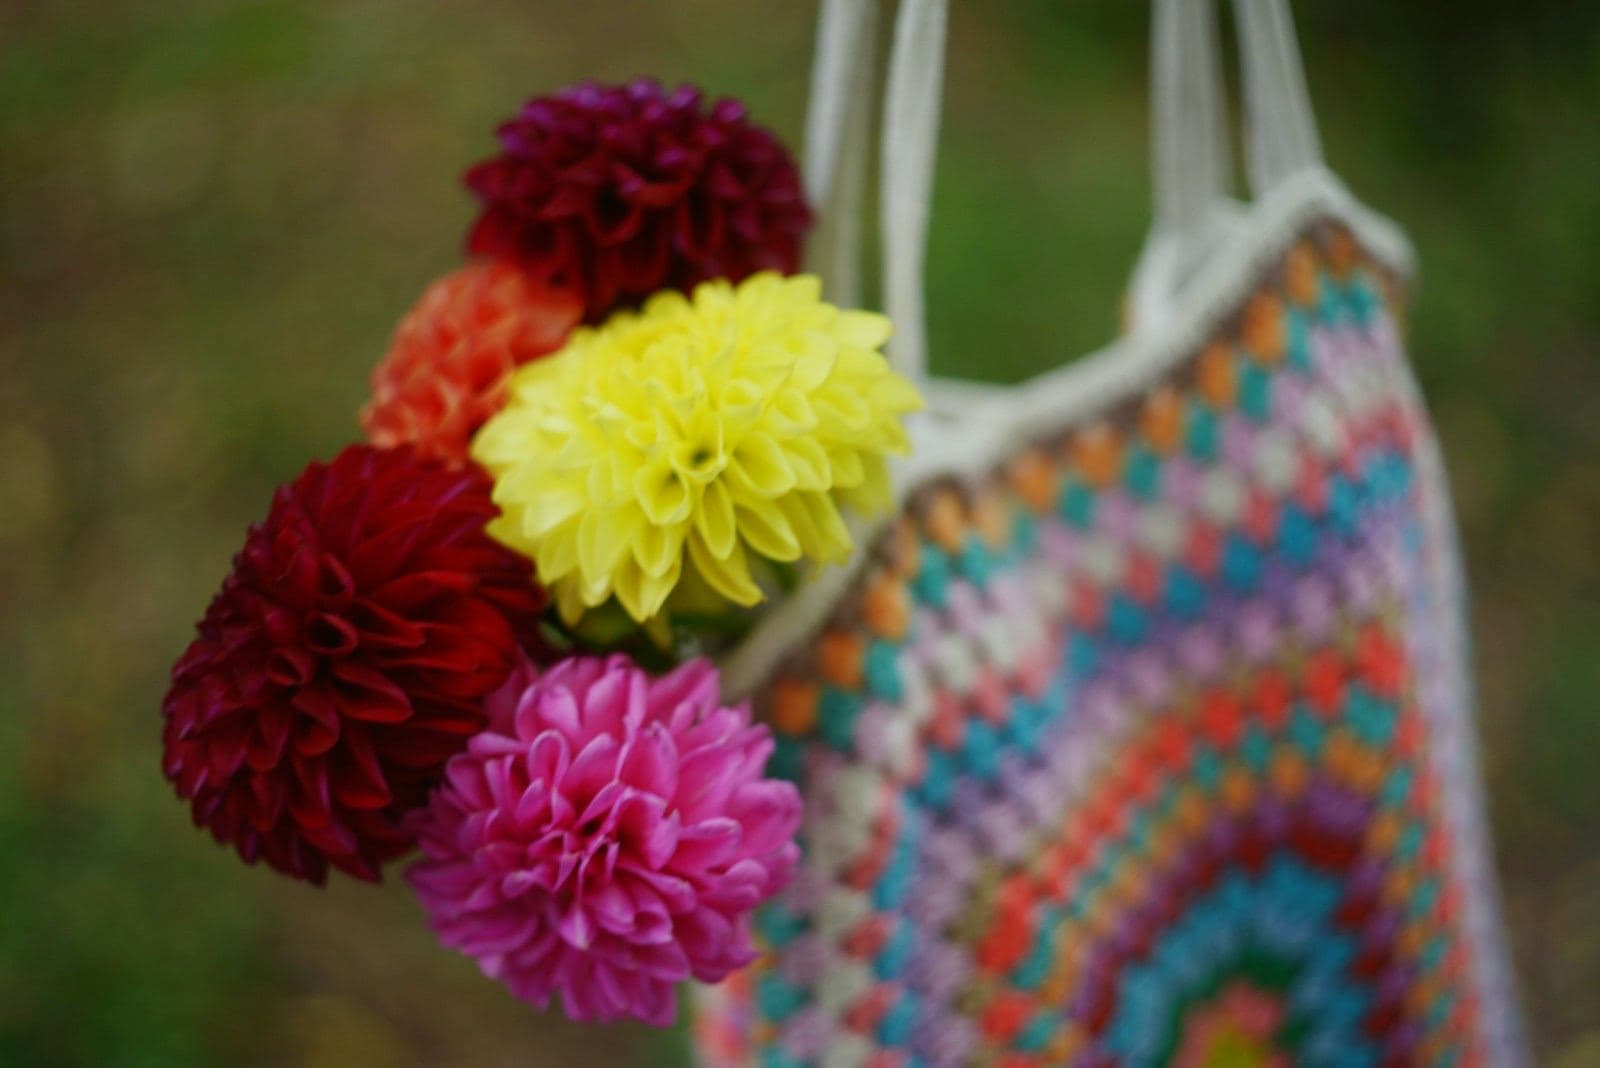
Join several granny squares into two panels, seam the sides and bottom, and add a strap. It's a colorful way to use up leftover yarn, and every square is a small, portable project.
4. Envelope clutch
Crochet one long rectangle in single crochet, fold up the bottom third, seam the sides, and let the top third fold over as a flap. Add a button and a chain loop to close it. It's an easy introduction to seaming.
5. Bucket bag
A bucket bag starts with a flat circle or an oval base, then works straight up the sides. A round of single crochet in the back loops only at the transition gives it a crisp, structured bottom edge.
Tips for bags that hold their shape
- Choose cotton or a cotton blend. Cotton is sturdy and holds its shape better than acrylic or wool.
- Go down a hook size. Tighter stitches make firmer fabric that stretches less under weight.
- Make straps from single crochet or slip stitch rows. These are the least stretchy stitches. You can also sew cotton webbing inside a strap for reinforcement.
- Consider a fabric lining. A simple lining stops small items from slipping through and reduces sagging.
Starter outline: drawstring pouch
This outline makes a pouch about 4 in (10 cm) across using worsted-weight cotton and a 4.5 or 5 mm hook. Work in a continuous spiral with a stitch marker at the start of each round (US terms).
Drawstring pouch
Inc = 2 sc in the same stitch. BLO = back loop only.
- Rnd 1
- 6 sc in a magic ring. (6)
- Rnd 2
- Inc in each st around. (12)
- Rnd 3
- (Sc 1, inc) 6 times. (18)
- Rnd 4
- (Sc 2, inc) 6 times. (24)
- Rnd 5
- (Sc 3, inc) 6 times. (30)
- Rnd 6
- (Sc 4, inc) 6 times. (36)
- Rnd 7
- Sc in BLO of each st around. (36) This turns the base into the sides.
- Rnds 8–25
- Sc in each st around (36), or continue until the pouch is the height you like.
- Eyelet rnd
- (Sc 2, ch 1, skip 1) 12 times. (36 sts, including 12 ch-1 spaces)
- Final rnd
- Sc in each sc and in each ch-1 space around. (36) Sl st to the next st, fasten off, and weave in ends.
- Drawstring
- Chain about 24 in (60 cm) and fasten off. Weave it in and out through the eyelets and knot the ends together.
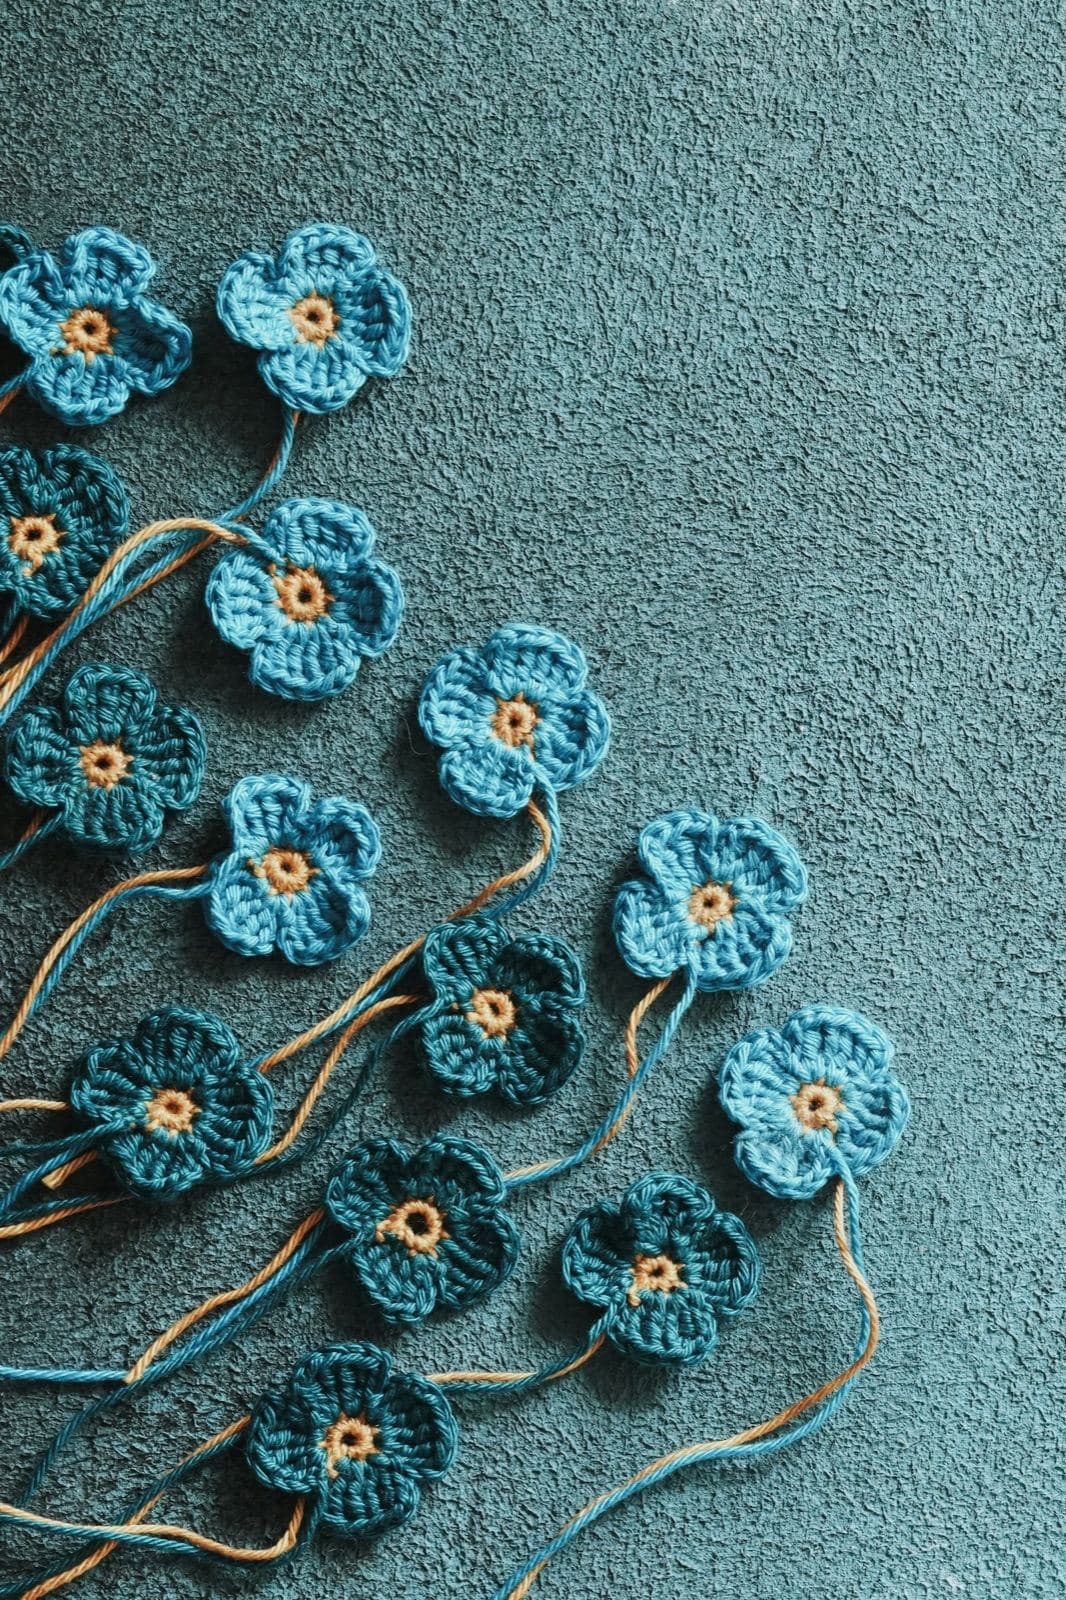
Finish your pouch with an easy crochet flower sewn to the front for a handmade gift.
Looking for your next step?
More in Bags & Accessories